

A double window envelope eliminates the addressing step entirely. Both the recipient's delivery address and your return address show through the two transparent windows directly from the document inside. No labels. No printing on the envelope face. Nothing added by hand. The document does all the work.
The challenge is setting up your Word document so both addresses land in exactly the right positions to show through both windows after folding. This guide covers how to do that, the difference between check-format and invoice-format double window templates, the correct fold direction, and how to test alignment before committing to a full print run. For setup instructions covering other envelope types and printer configurations, see the Complete Guide for Laser, Inkjet, and Bulk Office Printing.
Understanding the Double Window Envelope
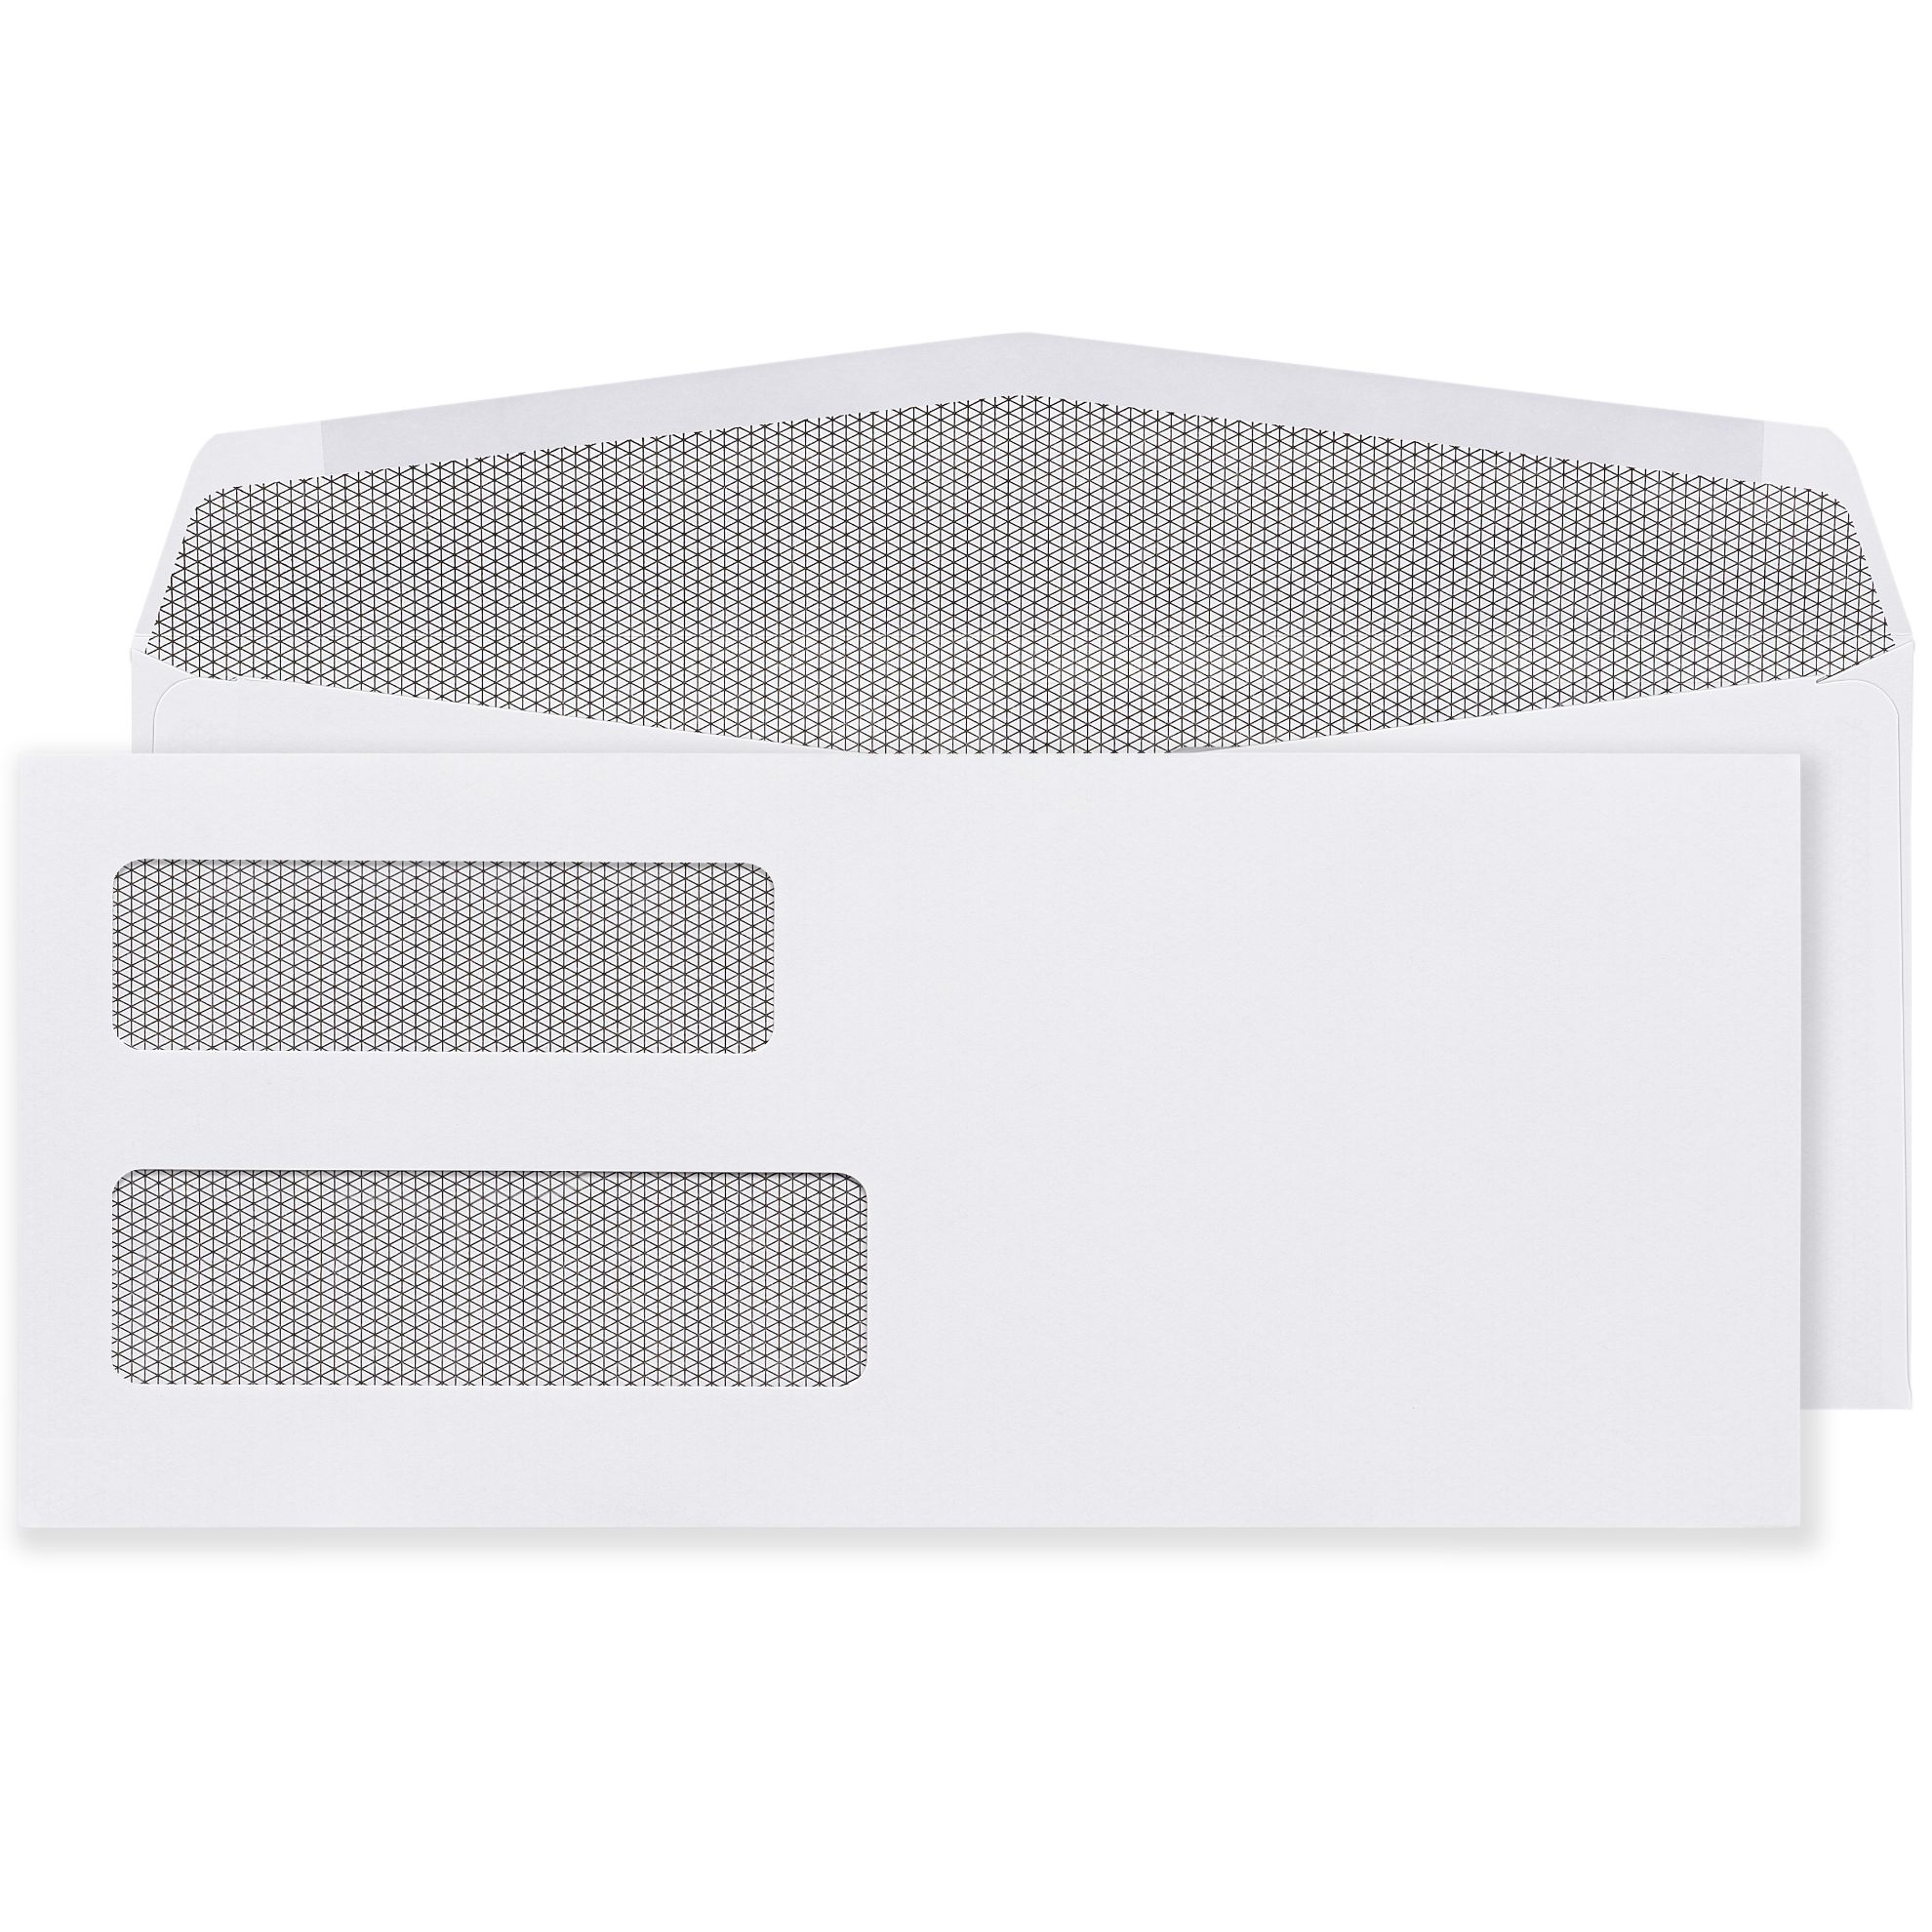
A double window envelope has two transparent poly-film panels on the face: one in the lower-left area for the recipient's delivery address, and one in the upper area for the sender's return address. Both addresses pull from the document inside. Nothing is printed or addressed on the envelope itself.
Two distinct double window formats exist, and they use different window positions. Understanding which format you are using is the first step before setting up any Word template.
| Format | Designed For | Outer Dimensions | Window Positions |
|---|---|---|---|
| Check format (security tinted) | QuickBooks, Sage, Peachtree voucher checks | Check-size format | Calibrated to where accounting software prints payer and payee addresses on a check form |
| Invoice/statement format (#10) | Billing statements, invoices, general correspondence | 4-1/8 x 9-1/2 inches (#10) | Standard window positions matched to billing software invoice templates |
The two formats are not interchangeable. Using a check-format envelope for an invoice document, or an invoice-format envelope for a check, produces misaligned addresses every time. Confirm your format before setting up your Word template. See all formats at double window envelopes.
How to Set Up a Double Window Envelope Template in Word (Invoice/Statement Format)
The following steps apply to the standard double window #10 invoice envelope format. For the check-format double window, see the dedicated check section below.
Step 1: Set your document page size
Set the page width to 9.5 inches and the page height to 4.125 inches. This matches the #10 envelope dimensions (4-1/8 x 9-1/2 inches). Set the orientation to Landscape. Set all margins to 0.5 inches.
If you are building the template as a letter-size document that will be tri-folded into the envelope (which is more common for invoices and statements), skip this step and use your standard 8.5 x 11 document. The address positions below are for the tri-folded 8.5 x 11 document approach, which is how most billing software and Word invoice templates work.
Step 2: Understand the fold and window relationship
For a double window #10 invoice envelope, the standard fold is a Z-fold (accordion fold):
- Hold the 8.5 x 11 document face-up with the top of the page at the top.
- Fold the bottom third of the document up toward the top. The fold line sits at approximately 3.67 inches from the bottom.
- Fold the top third back down in the opposite direction. The fold line sits at approximately 7.33 inches from the bottom.
- The result is a tri-folded panel approximately 3.67 x 8.5 inches.
- Insert the folded document into the envelope face-forward with the delivery address facing the window side.
After this fold, the delivery address on your document needs to land in the lower-left area of the outer face, visible through the lower window. The return address needs to land in the upper area of the outer face, visible through the upper window.
Step 3: Position the delivery address block
The delivery address block should sit approximately 2.25 to 2.5 inches from the top of the document and 3.75 to 4 inches from the left edge. After the Z-fold, this places the address in the lower-left area of the outer panel, centered in the delivery address window.
In Word, the easiest way to position the delivery address precisely is to use a text box:
- Go to the Insert tab and click Text Box, then Draw Text Box.
- Draw the text box on your document at the correct position.
- Right-click the text box, select Format Text Box, and set the exact position: horizontal 4 inches from the left margin, vertical 2.4 inches from the top margin.
- Set the text box width to 3.5 inches and height to 1 inch to match the window opening.
- Remove the text box border (set line to No Line) so it does not print.
- Type or insert your delivery address field in the text box.
Step 4: Position the return address block
The return address block should sit approximately 0.5 inches from the top of the document and 0.5 inches from the left edge. After the Z-fold, this positions the return address in the upper-left area of the outer back panel, visible through the upper window.
Use the same text box method as the delivery address. Set the horizontal position to 0.5 inches from the left margin and the vertical position to 0.5 inches from the top. Set the width to 3.5 inches and height to 0.75 inches. This is your fixed return address , it does not change per recipient.
Step 5: Save as a Word template
Once the address positions are set and tested:
- Go to File › Save As.
- In the file type dropdown, select Word Template (.dotx).
- Name the file something clear: "Double Window Envelope Invoice Template."
- Save to your templates folder.
Every time you need to produce a new invoice or statement run, open the template, update the delivery address field (or connect to your mail merge list), and print. The return address stays fixed in position across every use.
How to Set Up a Double Window Check Envelope Template in Word
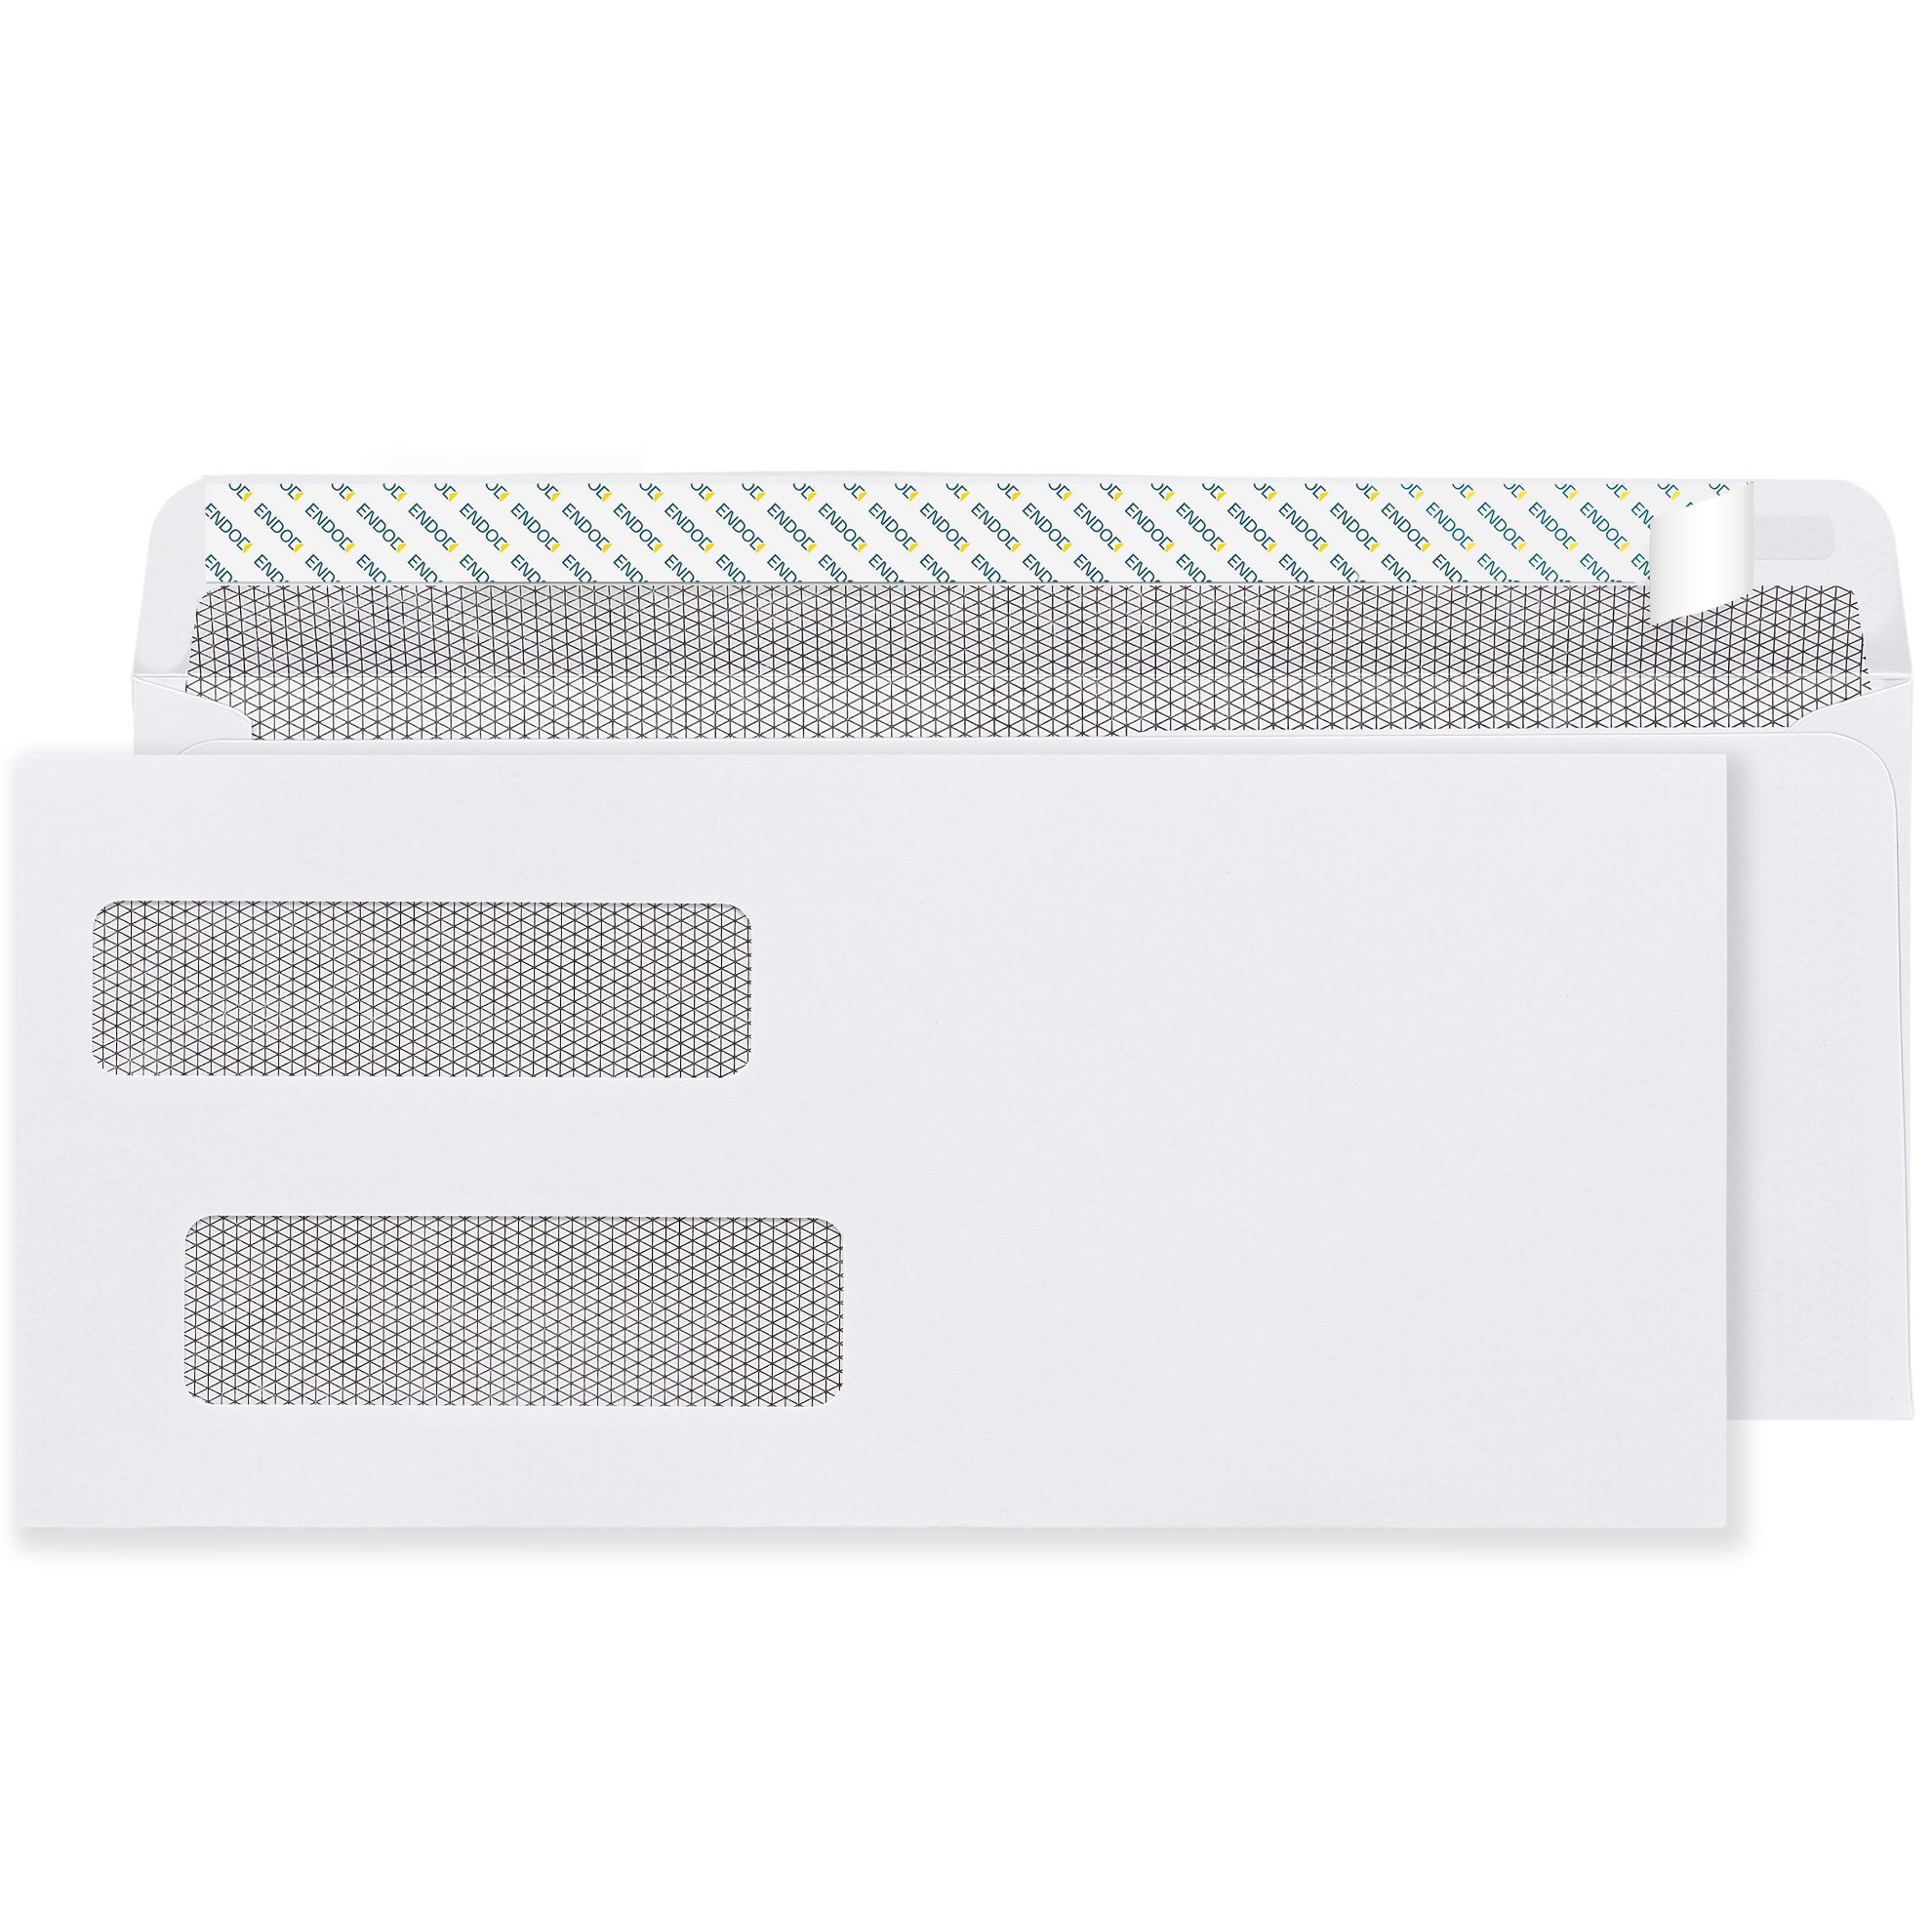
The check-format double window envelope uses different window positions than the invoice format. The windows are calibrated to where QuickBooks, Sage, Peachtree, and compatible accounting software print the payer and payee addresses on a standard voucher check form.
For QuickBooks Desktop users, the standard voucher check template already places both addresses in positions that align with the check-format double window envelope. The check form IS the template , you are not creating a separate Word document for the address positions. The check prints from within QuickBooks with both addresses in the correct location, and the envelope receives the folded check.
For users printing checks through Word or a third-party service, the address positions must match the window specifications of the specific check-format double window envelope. Check-format envelopes have a lower bottom window (approximately 3/4 inch from the bottom edge) positioned to show the payee address while keeping check amounts, routing numbers, and account numbers hidden behind the opaque envelope body.
See the check-format double window envelope at Double Window Security Check Envelopes Flip and Stick Designed for QuickBooks Quicken Sage.
★★★★★
"Durable, secure, and easy to use , these Flip and Stick double window envelopes are perfect for mailing checks efficiently."
Justin T | Verified buyer, Double Window Security Check Envelopes Flip and Stick Designed for QuickBooks Quicken Sage
Source: businessenvelopes.com product reviews
Using Mail Merge with a Double Window Envelope Template in Word
Word's mail merge feature works with double window envelope templates when you are printing variable delivery addresses for multiple recipients on a single invoice or statement run.
Mail merge setup for double window invoice envelopes
- Open your double window envelope template in Word.
- Go to the Mailings tab and click Start Mail Merge, then select Normal Word Document (not the Envelopes option, which is for printing on the envelope itself rather than a document that folds into an envelope).
- Click Select Recipients and connect to your Excel spreadsheet or contact list containing the delivery addresses.
- Place your cursor inside the delivery address text box and click Insert Merge Field to insert address fields: name, street, city, state, zip.
- Keep the return address text box fixed with your organization's address typed directly , do not use a merge field for the return address unless it varies per recipient.
- Click Preview Results to confirm address positioning looks correct across multiple records.
- Print one test piece before running the full merge.
Testing Alignment Before Every Batch Run
This step is not optional. Even a correct template can produce misaligned addresses if the printer margin settings shift, the paper stock changes, or the template is modified between runs.
- Print one test document from your Word template.
- Z-fold the document using the same fold method you will use in the actual run.
- Insert the folded document into the double window envelope with the address side facing outward toward the windows.
- Hold the envelope up to a light source. Both addresses should appear fully inside their windows with at least 1/8 inch of clearance on all four edges.
- Check for exposed data. No content other than the addresses should be visible through the envelope body or the window edges.
- If either address is shifted, adjust the text box position in your Word template by increments of 0.1 inches and test again.
★★★★★
"Great fit. Strong seal. No fuss."
Emily Davis | Verified buyer, Double Window Security Check Envelopes Flip and Stick Designed for QuickBooks Quicken Sage
Source: businessenvelopes.com product reviews
Choosing the Right Double Window Envelope to Match Your Template
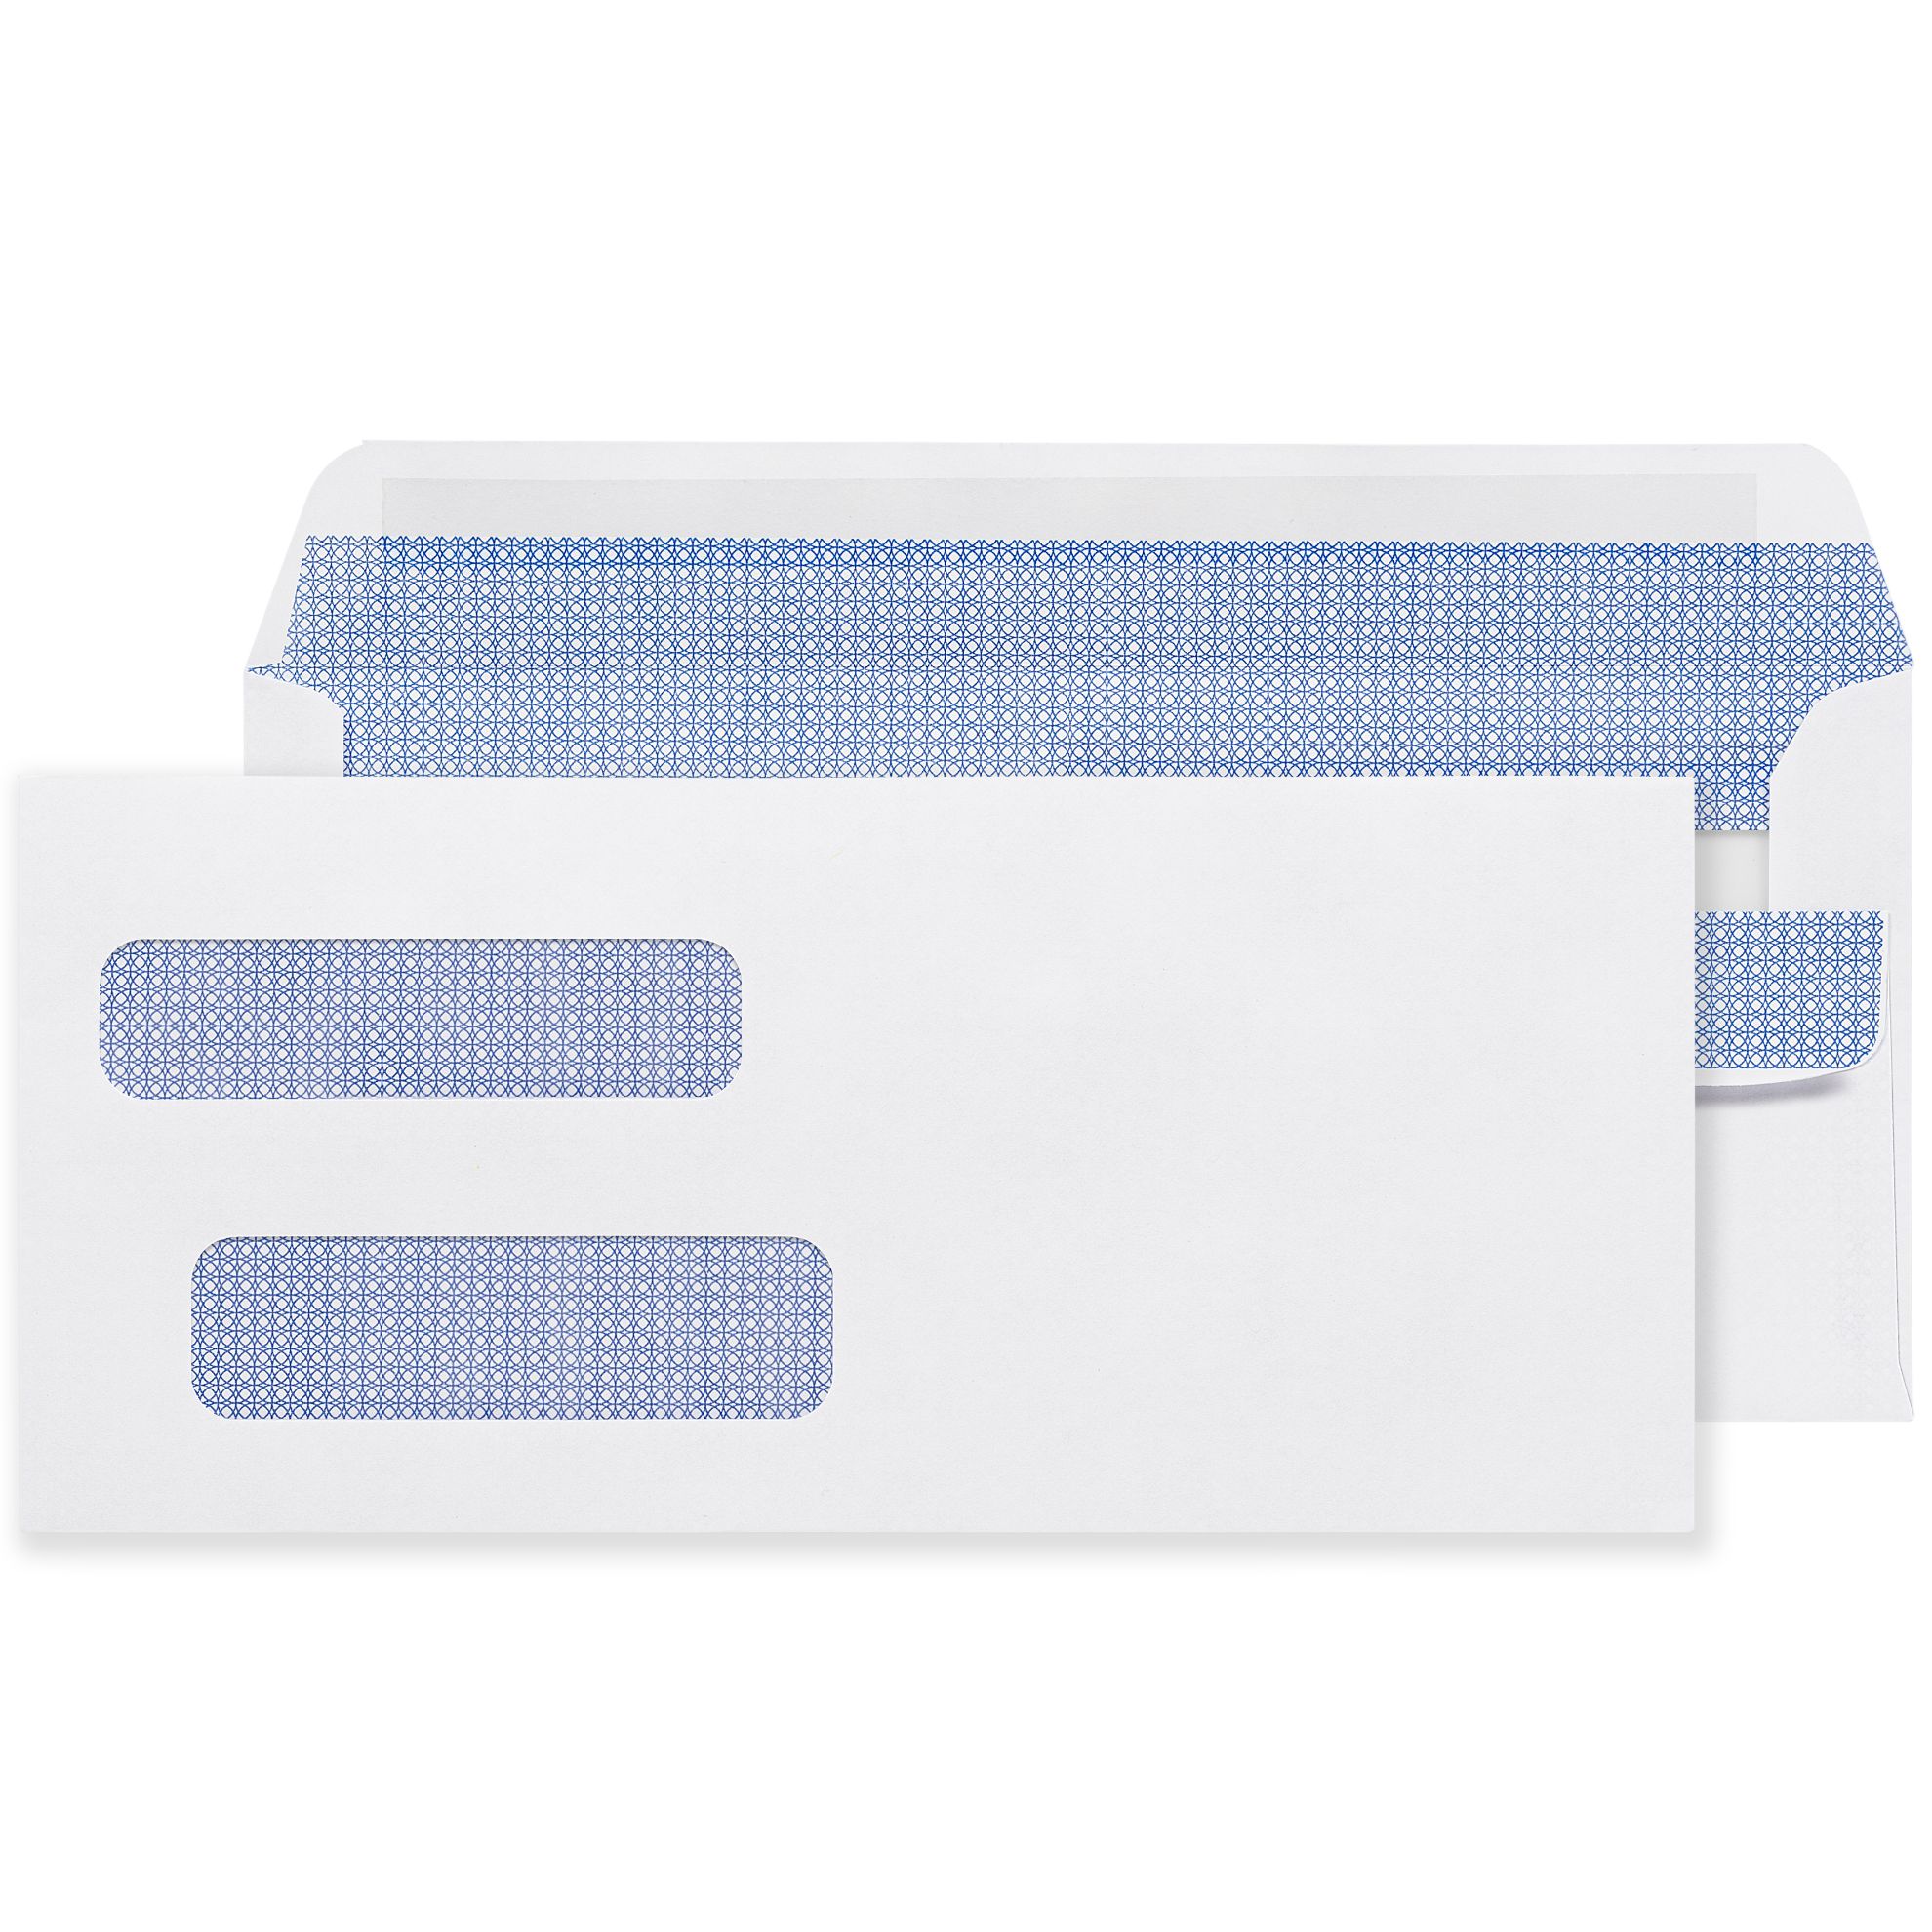
The Word template setup depends entirely on which double window envelope format you order. Confirm the format before building the template. Two distinct formats and three closure types are available at Business Envelopes:
| Format | Closure | Best For |
|---|---|---|
| Check format, security tinted | Gum flap | Inserter machine programs; moistenable seal |
| Check format, security tinted | Peel-and-seal | Hand-sealing check runs; no moisture needed |
| Check format, security tinted | Flip-and-stick | Fast continuous hand-sealing AP batches |
| Invoice format (#10) | Gum flap | Inserter machine billing programs |
| Invoice format (#10) | Peel-and-seal | Hand-sealing invoice and statement runs |
All double window formats are available blank or custom-printed with your organization's logo and return address. Custom printing eliminates the need to include the return address in your Word template entirely , it is already on the envelope. For custom printing options, see custom printed envelopes.
★★★★★
"Does the job, no problems so far. I'd get these again"
Jessica | Verified buyer, Double Window Security Check Envelopes Flip and Stick Designed for QuickBooks Quicken Sage
Source: businessenvelopes.com product reviews
Why Business Envelopes for Double Window Envelopes
Business Envelopes has supplied double window envelopes for check mailing, billing, and invoice programs to US businesses since 1997. Every double window format in the catalog is stocked in both check and invoice configurations, with security tinting standard on check formats. Window positions are calibrated to align with standard accounting software output including QuickBooks, Sage, and Peachtree without document reformatting.
- No minimums on any order
- Free ground shipping to the contiguous 48 states on every order
- Blank stock ships same or next business day
- Custom-printed orders ship within 7 to 10 business days from proof approval
- All three closure types stocked: gum flap, peel-and-seal, flip-and-stick
For the complete window envelope range including single window, double window, and all standard business formats, see the Business Envelopes With Window: Complete Buyer's Guide and window envelopes.