

Quick answer: A standard #10 envelope (4-1/8 x 9-1/2 inches) is the correct size for mailing W2 forms to employees. A W2 form printed on 8.5 x 11 inch paper folds into thirds and fits a #10 envelope exactly. A security-tinted #10 is strongly recommended because W2 forms contain Social Security number information and annual earnings. For high-volume W2 programs, a security-tinted #10 window envelope eliminates manual addressing. All formats are available at Business Envelopes. See options at window envelopes.
Every employer who has paper W2 forms to mail faces the same question at the start of each January: which envelope, which format, and what do I order before the January 31 deadline? The answer is not complicated, but getting the format wrong costs time in January when there is no time to spare.
This guide covers which envelope size and format is correct for W2 mailing, why security tinting matters, how to set up window alignment, the correct folding method, and the ordering timeline for the IRS January 31 deadline.
What Size Envelope for W2 Forms: The Standard Answer
Standard W2 Envelope Specifications
- Envelope size: #10 (4-1/8 x 9-1/2 inches)
- W2 form size: 8.5 x 11 inches (standard US letter)
- Folding method: Tri-fold (letter fold into thirds)
- Interior pattern: Security tinting recommended (crosshatch or geometric)
- Closure types: Gum flap (for inserter machines) or peel-and-seal / flip-and-stick (for hand sealing)
- USPS classification: First-Class Letter at 1 oz (one tri-folded W2 = under 1 oz)
- IRS employer deadline: January 31 of the year following the tax year
The W2 form is printed by the employer (or the payroll software) on standard 8.5 x 11 inch paper. Tri-folded into thirds, the W2 measures approximately 3-2/3 x 8-1/2 inches and fits a standard #10 envelope (4-1/8 x 9-1/2 inches) with room to seal. This is the same fold used for a standard business letter.
No special W2 envelope size is required for the standard tri-fold method. The #10 is the envelope every US employer already uses for standard business correspondence. The format decision is not which size to order, but which version of the #10 to order: plain, security-tinted, plain window, or security-tinted window.
Why Security Tinting Matters for W2 Mailing
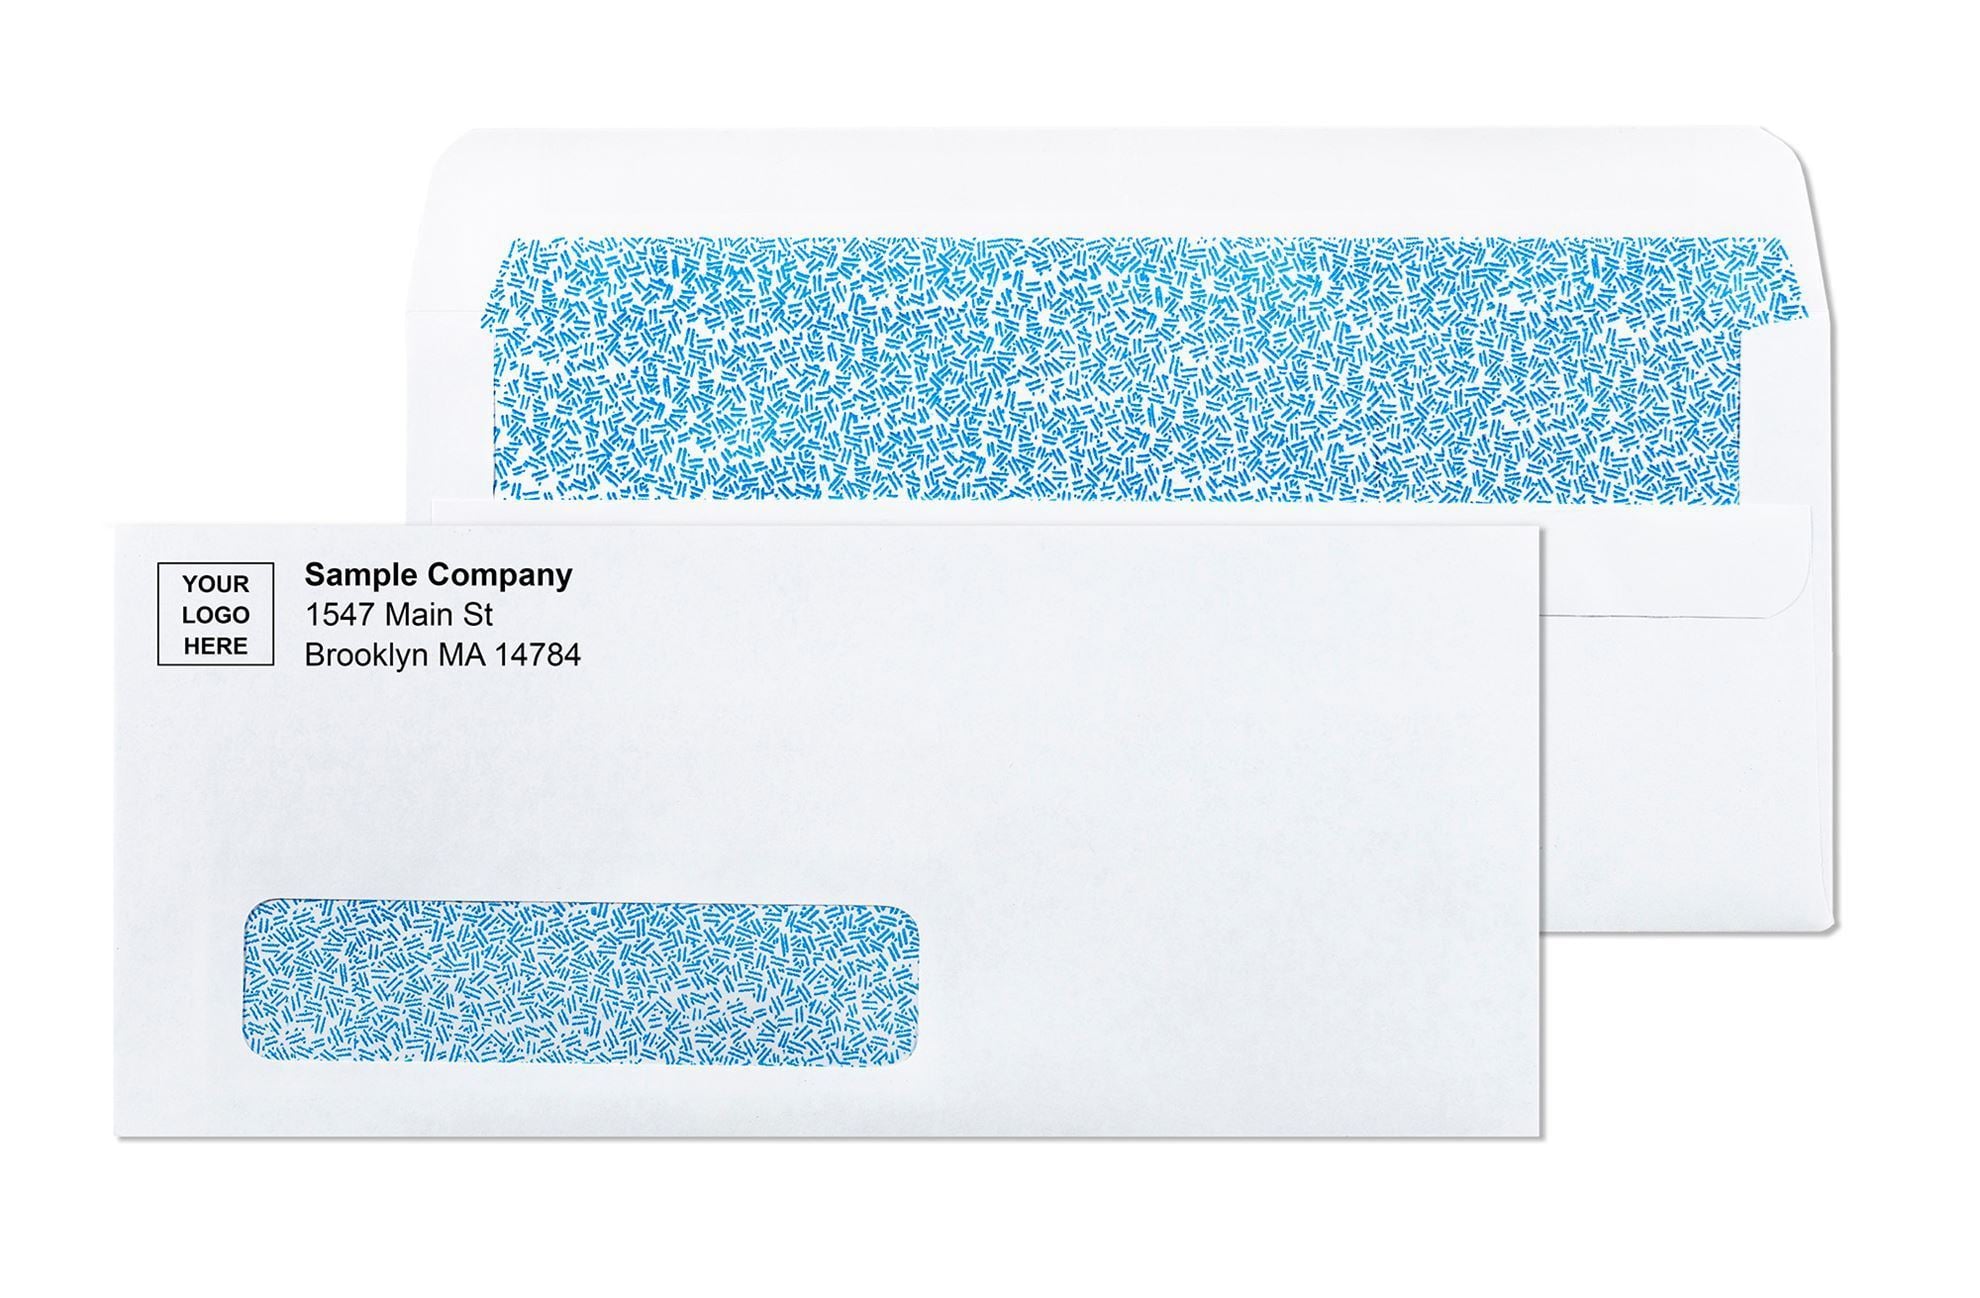
Security tinting is an interior printing pattern , typically a dense crosshatch or geometric design , applied to the inside surface of the envelope body. When the sealed envelope is held to a light source, the interior pattern blocks all document contents from being visible through the paper. Only the address zone (on a window envelope) or nothing at all (on a plain tinted envelope) remains visible from outside.
W2 forms make security tinting important for a specific reason: the combination of data on the form. A W2 contains the employee's:
- Full legal name
- Home mailing address
- Social Security number (full or last four digits depending on format)
- Total annual wages and tips
- Federal income tax withheld
- State wages and state income tax withheld
This combination of identity information and financial data is exactly what makes W2 forms a priority target for mail theft and identity fraud. Standard white envelope paper is slightly translucent under strong light. An unprotected W2 in a plain white envelope can expose SSN information to anyone who handles it during postal sorting.
Security tinting is not legally required for W2 mailing, but it is the professional data protection standard. Most HR professionals and payroll administrators order security-tinted envelopes for W2 season as a routine practice. For the complete guide to how security tinting works, see Security Tinted Envelopes: What the Interior Pattern Actually Does and When You Need It.
The Four W2 Envelope Options: Which to Order
| Format | Best For | Addressing Method | SSN Protection |
|---|---|---|---|
| #10 plain white (no tinting) | Not recommended for W2 | Print, type, or label on face | None |
| #10 security-tinted, no window | Small W2 programs (under 25 employees) | Print, type, or label on face | Full tinting |
| #10 security-tinted window | Medium and large W2 programs | Address shows through window from W2 | Full tinting |
| #10 plain window (no tinting) | Only if SSN is masked on form | Address shows through window from W2 | None |
For most employers, the security-tinted #10 window envelope is the correct format. It provides full interior protection for sensitive W2 data and eliminates manual addressing when the W2 template is set up with the address block in the standard window position. This combination of protection and efficiency is why it is the standard for medium and large annual W2 programs.
How to Set Up Window Alignment for W2 Mailing
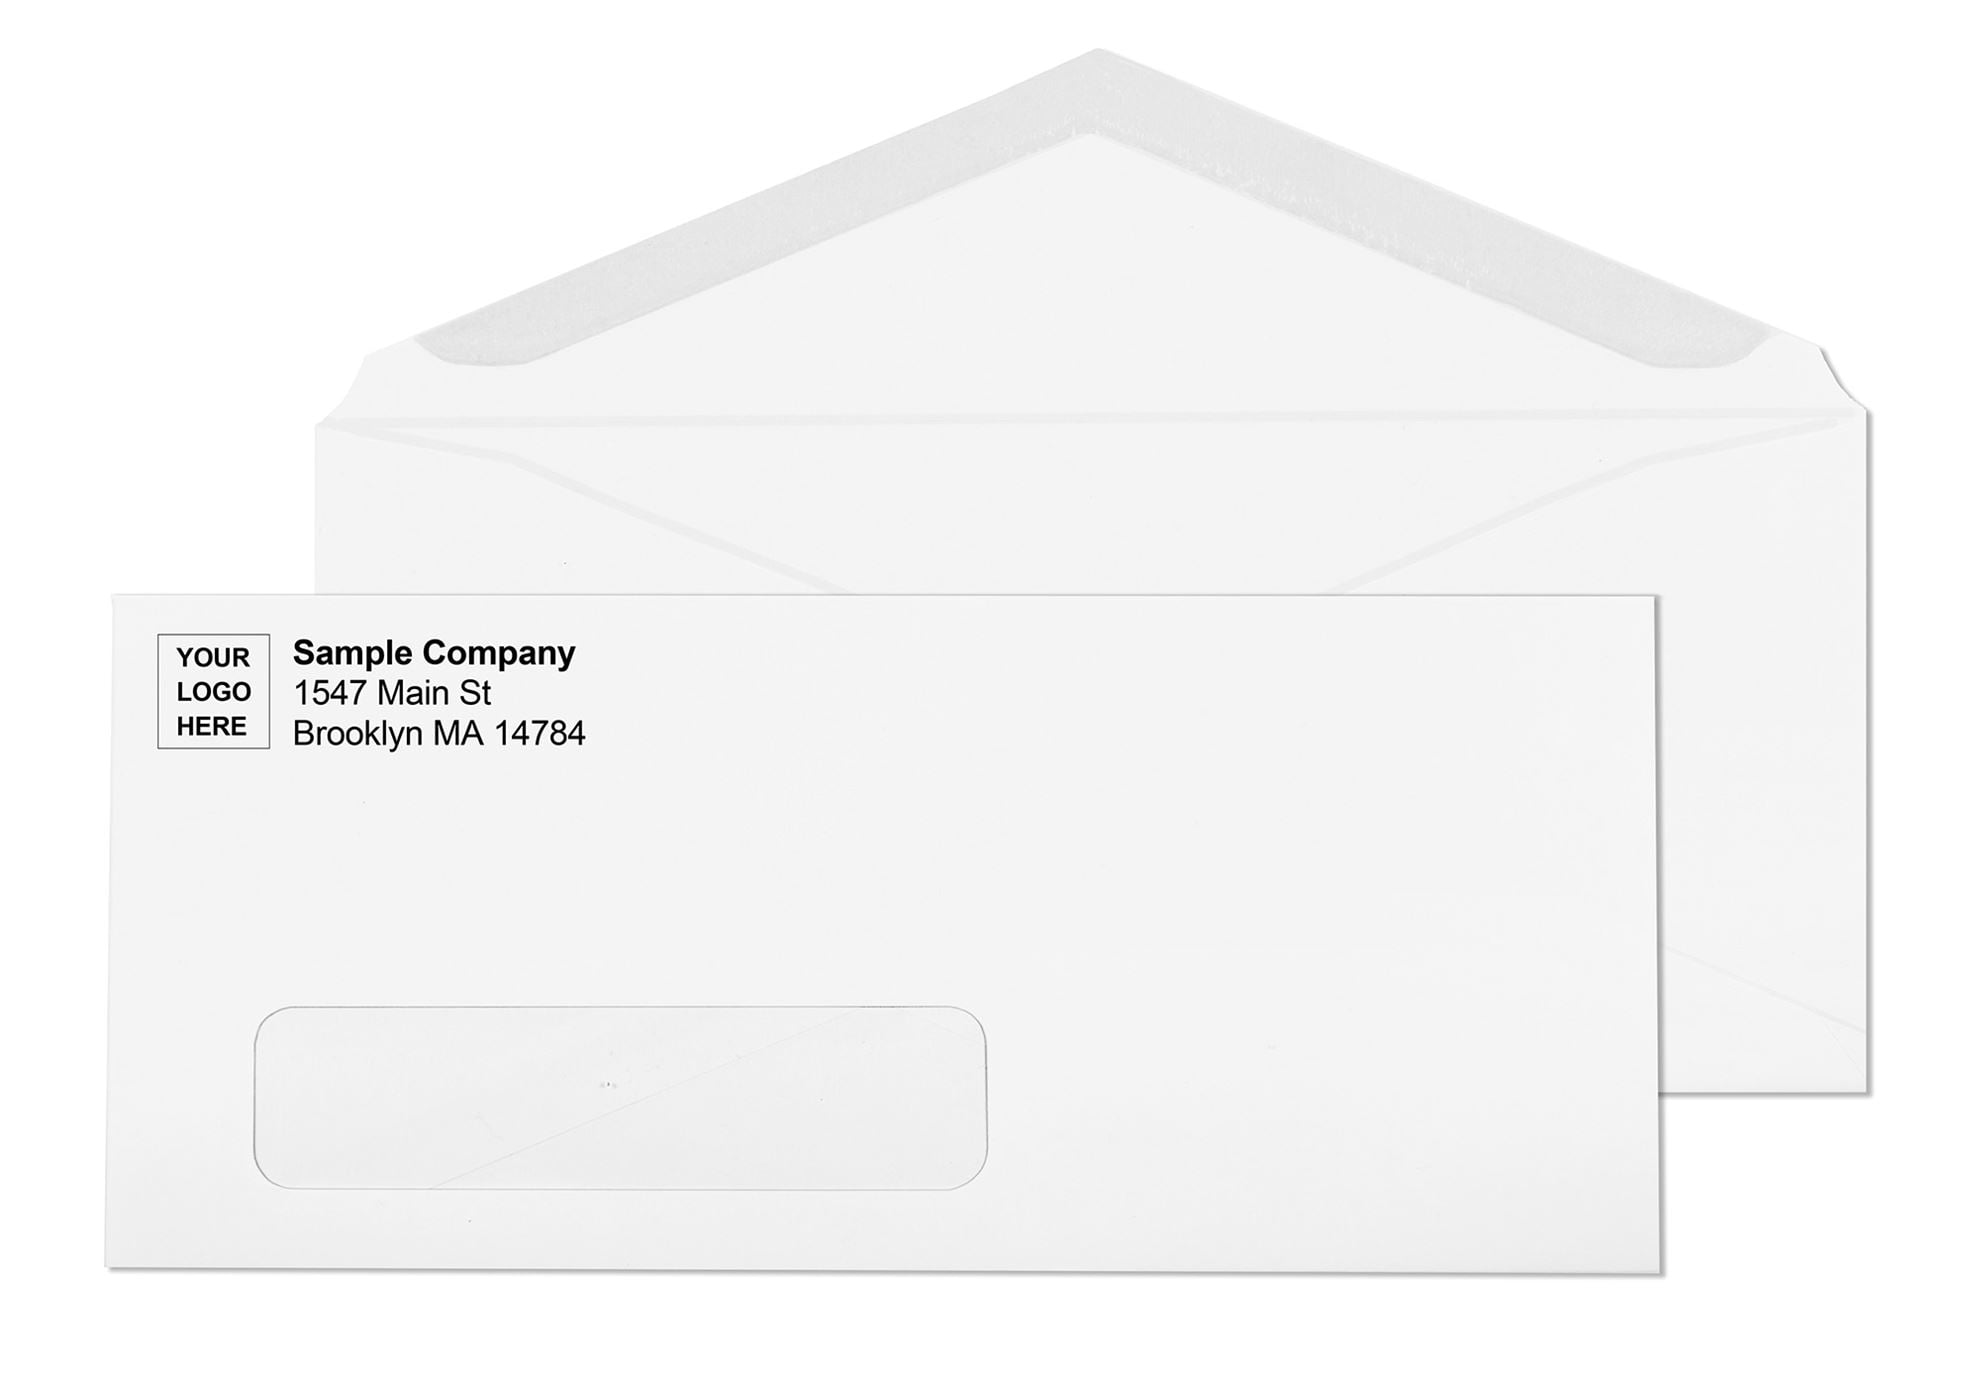
Window envelope addressing for W2 forms works by positioning the employee's name and address on the W2 form itself so that it appears in the window opening when the form is tri-folded and inserted. The employer never writes or prints on the envelope face. The W2 template does the addressing automatically for every employee in the batch.
Standard window position for #10 envelopes
The standard #10 window is positioned 7/8 inch from the left edge and 1/2 inch from the bottom edge of the envelope face, measuring 1-1/8 x 4-1/2 inches. This is the same window position used for billing statements, invoices, and check mailing. Most US payroll software , including QuickBooks, ADP, Sage, and Intuit payroll , formats the employee address block on W2 output to align with this standard window position automatically.
How to confirm window alignment before the full W2 run
- Print one test W2 form using your payroll software with the actual employee address filled in
- Fold the form into thirds using the same fold you will use for the full run
- Insert the folded form into a #10 window envelope and hold the face toward a window or light source
- Confirm the employee name and full address appear within the window opening
- Confirm at least 1/8 inch clearance between the address text and all four edges of the window opening (USPS requirement)
- If the address is cut off or too close to the window edge, adjust the address block position in the W2 template before running the full batch
For the complete guide to window envelope alignment and USPS clearance requirements, see Window Envelopes: The Complete Guide for Business Billing and Mailing.
How to Fold a W2 for a #10 Envelope
The tri-fold (letter fold) is the correct folding method for mailing a W2 form in a #10 envelope. The fold is the same as a standard business letter and takes approximately five seconds per form.
- Place the W2 form face-up on a flat surface. Landscape orientation if the W2 is printed horizontally; portrait orientation if printed vertically.
- Fold the bottom third up. The bottom edge of the form folds up to approximately one-third of the way from the top. Crease firmly along the fold line.
- Fold the top third down. The top edge folds down over the already-folded bottom section. Crease firmly. The folded form now measures approximately 3-2/3 x 8-1/2 inches.
- Insert into the #10 envelope. The folded form slides in from the open flap end. If using a window envelope, confirm the address appears in the window before sealing.
- Seal the envelope. Flip the peel-and-seal liner and press the flap. For gum flap envelopes, moisten and press firmly.
Closure Options for W2 Envelopes
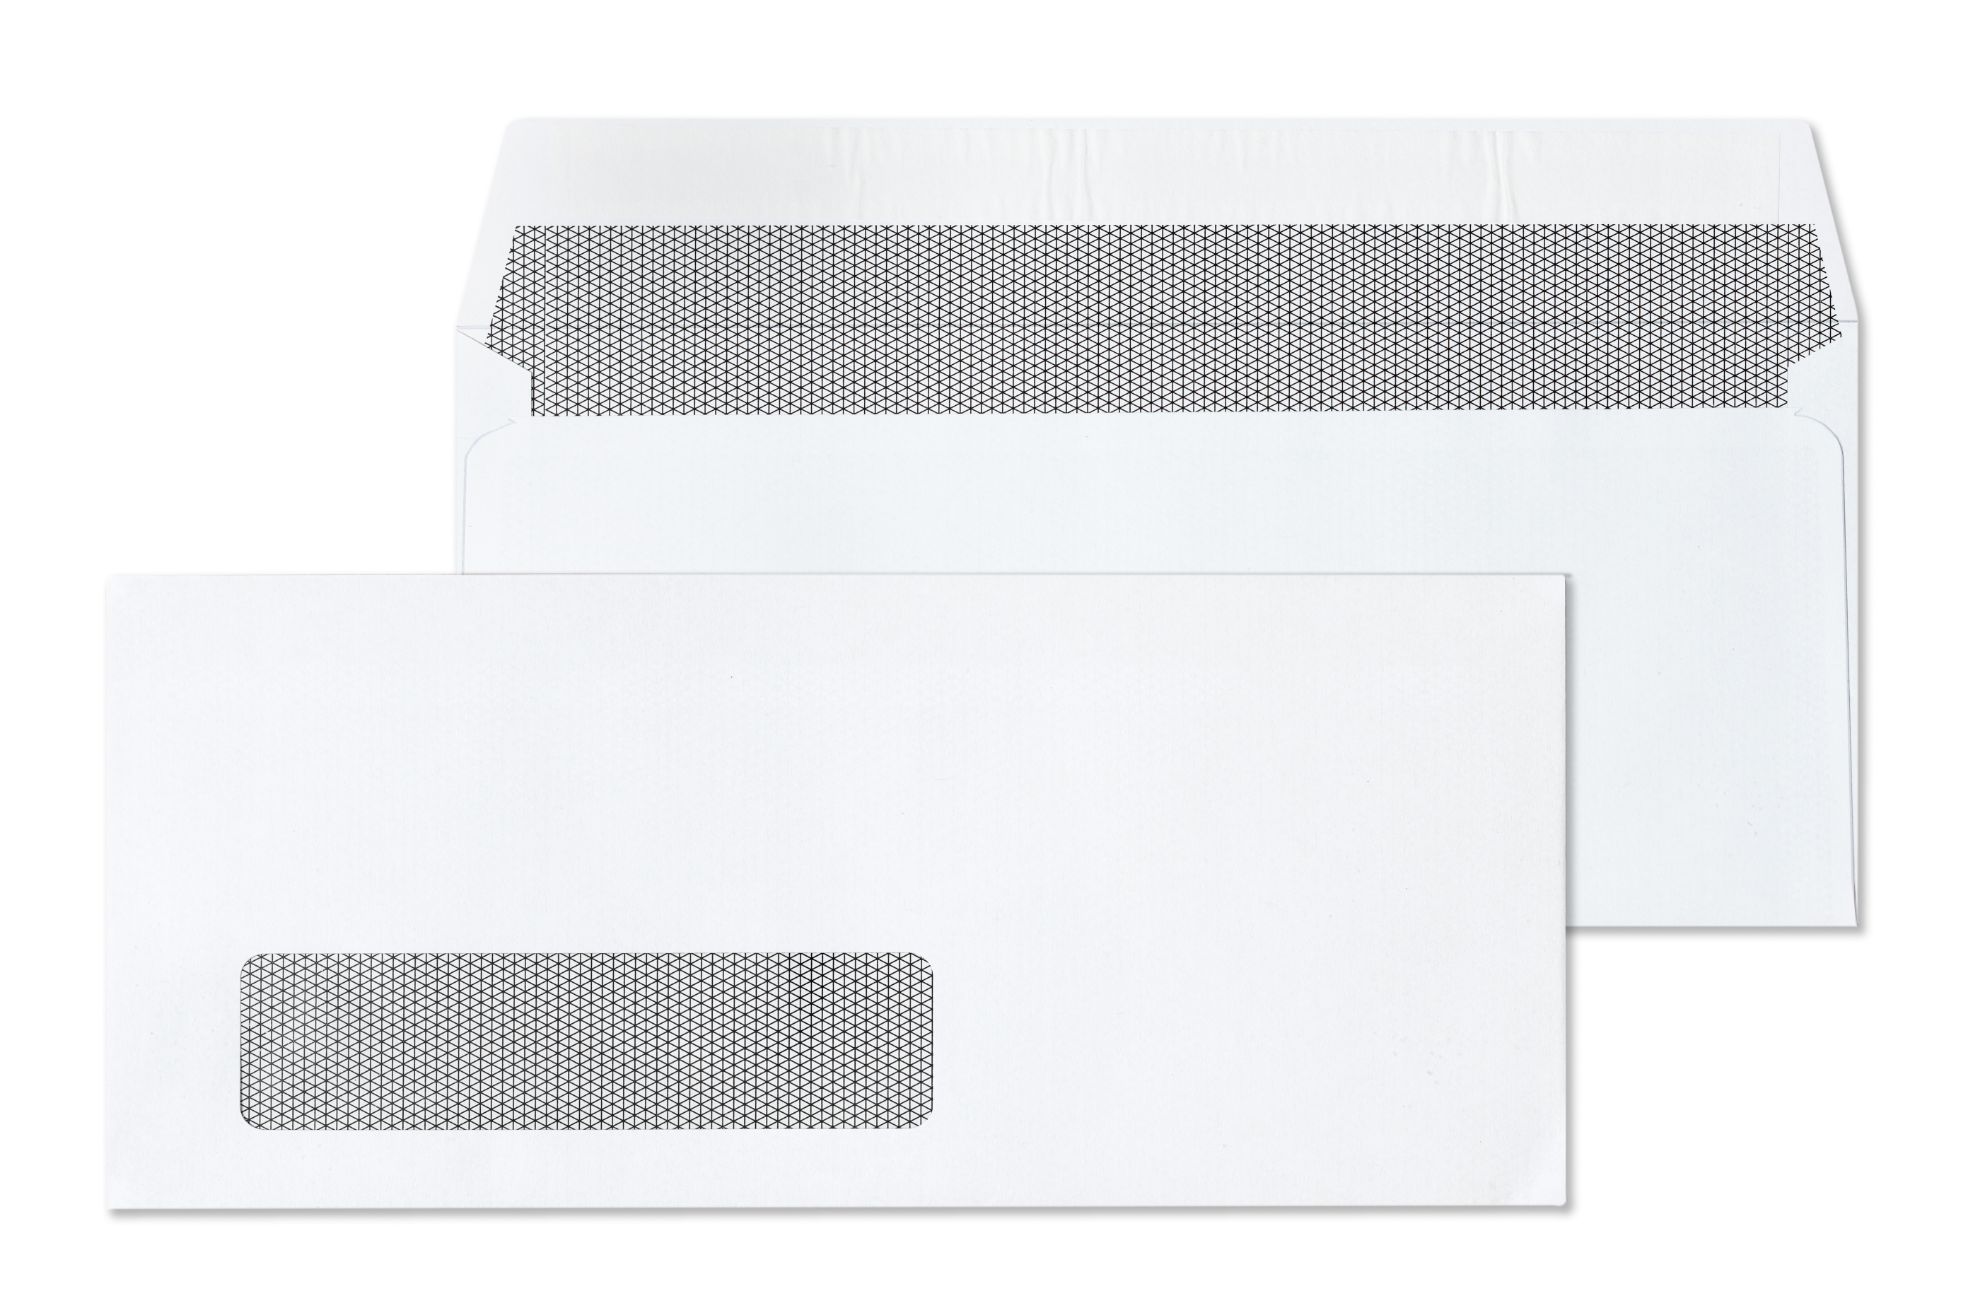
Peel-and-seal or flip-and-stick (recommended for most W2 programs)
Peel-and-seal envelopes use a pressure-sensitive adhesive strip protected by a paper liner. Remove the liner, press the flap, sealed. No moisture required. Flip-and-stick uses adhesive on both the flap interior and the envelope body, sealing on contact when the flap folds over with no liner to remove. Both are the standard closure for hand-sealing W2 mailing programs at any volume.
The tamper-evident seal on peel-and-seal closures is particularly appropriate for W2 mailing because it provides visible evidence if the envelope was opened during transit. See all self-seal options at self seal envelopes.
Gum flap (for folder inserter machine programs)
Organizations mailing W2s through an automated folder inserter machine require gum flap envelopes. The inserter's moistening unit activates the gum seal mechanically at the end of the insertion cycle. Peel-and-seal closures cannot be processed by inserter equipment. If your W2 program uses an inserter, order gum flap envelopes and confirm the envelope stock specifications with your inserter machine requirements.
The January 31 Deadline: W2 Envelope Ordering Timeline
IRS January 31 Employer W2 Deadline: Ordering Timeline
- November: Confirm employee count and W2 envelope quantity needed. Run a template alignment test with small envelope order.
- Early December: Place the full W2 envelope order. Allow 7 to 10 business days for custom printed stock (logo and return address). Blank stock ships same or next business day.
- Mid-December: Confirm envelopes received. Run a second alignment test with the production stock before year-end.
- Early January: Run W2 print batch. Fold, insert, seal. Sort by ZIP code if mailing in volume for USPS presort discount.
- January 31: Postmarked or delivered by this date to all employees. Copies sent to SSA (Social Security Administration) are due the same date for paper W2 submissions.
For standard blank #10 envelopes, same or next business day shipping means ordering in January is technically possible. But the test-and-confirm process , printing a test W2, folding, inserting, confirming window alignment , takes time that January does not allow. Organizations that order and test in December mail in January without last-minute problems.
For postage guidance on First-Class Letter mailing, see How Many Stamps Do I Need? The Complete Guide by Envelope Size.
Common W2 Envelope Mistakes to Avoid
- Ordering plain envelopes without security tinting. A W2 in a plain white envelope exposes SSN and earnings data to read-through during postal handling. Order security-tinted envelopes for every W2 mailing regardless of employee count.
- Skipping the window alignment test. Software updates, printer driver changes, and template adjustments can shift the address block position between years. Test one piece every year before running the full batch.
- Ordering in January. Custom printed envelopes take 7 to 10 business days from proof approval. Ordering in early December eliminates the January deadline risk.
- Using the wrong fold direction. If the W2 is a horizontal format (landscape), the fold method differs from a vertical (portrait) form. Confirm the fold with a test piece before processing the full batch.
- Sealing peel-and-seal envelopes before printing. If any element of the W2 address is printed directly on the envelope face by a laser printer, print before sealing. Laser fuser heat can activate the peel-and-seal adhesive through the liner and seal the envelope prematurely.
- Not leaving clearance at the window edges. USPS requires at least 1/8 inch clearance between the address text and all four window edges. An address that touches the window edge can be flagged as undeliverable.
Why Business Envelopes for W2 Mailing
Business Envelopes has supplied security-tinted #10 and window envelopes to employers, payroll departments, accounting firms, and HR operations since 1997. Both security-tinted plain and security-tinted window formats are stocked year-round, not only during tax season.
- Security-tinted #10 envelopes in gum flap and peel-and-seal closures
- Security-tinted #10 window envelopes in gum flap, peel-and-seal, and flip-and-stick
- Custom printing available: logo and return address on security-tinted formats
- No minimum order on any format
- Same or next business day shipping on blank stock
- Free ground shipping on every order
- Artwork stored on file for automatic W2 season reorders
For complete payroll and check envelope guidance covering W2, paycheck, and HR correspondence programs, see Payroll Envelopes: Which Format, Size, and Closure to Use for Your Pay Program.
What Customers Say About Business Envelopes Window Envelopes
★★★★★ Shaindy, Verified Buyer | #10 Window White Wove Printed Envelopes
"Super quality! Great product."
★★★★★ Claire, Verified Buyer | #10 Window White Wove Printed Envelopes
"My envelopes arrived perfect as always. Thank you again!"
★★★★★ Jacob, Verified Buyer | #10 White Wove Printed Envelopes
"The best company to deal with!! Their printing is SUPER as well as the quality of the envelopes. It was a pleasure to deal with them. I would recommend everyone to give them a try."