

Quick answer: There are five ways to print a return address on an envelope. Method 1: Microsoft Word's Mailings tab stores your address and prints it directly on the envelope. Method 2: a return address label sheet printed and applied by hand. Method 3: direct inkjet or laser printing using a custom template. Method 4: custom pre-printed envelopes from a supplier with the address already on the face. Method 5: a window envelope with a pre-printed return address that also eliminates delivery address printing. For any organization mailing more than 50 envelopes per month, method 4 is the most cost-effective and consistent. See pre-printed options at printed envelopes.
The return address question comes up at two distinct points: when someone is setting up a one-off mailing and needs a quick solution, and when an organization realizes its current return address approach is inconsistent, time-consuming, or unprofessional. Both situations deserve a clear answer, and the best method depends entirely on how many envelopes you are sending and how often.
This guide covers all five methods for how to print a return address on an envelope: step-by-step Word instructions, USPS placement rules, and the volume threshold where pre-printed envelopes become the better answer than any in-house method.
USPS Return Address Placement Rules
Before choosing a printing method, confirm your return address will land in the correct position. USPS does not require a return address on standard First-Class Mail, but they require it to be in a specific position when it is included, and placing it anywhere other than the upper-left corner causes processing errors.
- Location: Upper-left corner of the envelope face , not the back, not the flap
- Minimum clearance from left edge: 1/2 inch
- Minimum clearance from top edge: 1/2 inch
- Must not extend below: 2-3/4 inches from the bottom of the envelope
- Must not interfere with: The delivery address zone (lower center) or the barcode clear zone (bottom 5/8 inch strip)
- Minimum font size: 10-point. 12-point recommended for legibility at USPS sorting facilities
For a standard #10 business envelope (4-1/8 x 9-1/2 inches), the return address block starts roughly 1/2 inch from the top and 1/2 inch from the left edge. A three-line return address (name, street, city/state/zip) at 12-point fits comfortably in this zone without entering the delivery address area. For complete envelope addressing placement rules, see How to Address an Envelope: Return Address, Delivery Address, and Postage Placement.
The 5 Methods to Print Return Address on Envelope
| Method | Best For | Per-Piece Time | Equipment Needed | Consistency |
|---|---|---|---|---|
| 1. Microsoft Word | 1 to 20 envelopes, occasional use | 30 to 60 seconds per envelope | Printer + Word | Good |
| 2. Return address labels | 1 to 50 envelopes, mixed envelope types | 10 to 15 seconds per label | Printer + label sheets | Good |
| 3. Direct inkjet/laser printing | 10 to 100 envelopes, single batch | 5 to 10 seconds per envelope | Printer + envelope template | Variable |
| 4. Custom pre-printed envelopes | 50+ envelopes per month, ongoing programs | Zero , address pre-printed | None required | Excellent |
| 5. Window envelope with pre-print | Billing, invoices, recurring statements | Zero , address pre-printed | None required | Excellent |
Method 1: How to Print Return Address on Envelope in Microsoft Word
Microsoft Word is the most common tool for printing return addresses on envelopes at low volumes. The Mailings tab has a dedicated envelope tool that stores your return address and positions it correctly for the envelope size you select. Once set up, the return address is stored in Word and appears automatically on every future envelope.
Step-by-step: Set up your return address in Word
- Open Microsoft Word and click the File tab, then click Options
- In the Word Options dialog, click Advanced
- Scroll down to the General section
- Type your full return address in the Mailing address box: organization name on line 1, street address on line 2, city/state/zip on line 3
- Click OK , Word stores this address for use on all future envelopes and labels
Step-by-step: Print a single envelope with return address in Word
- Open a blank Word document
- Click the Mailings tab in the ribbon
- Click Envelopes in the Create group
- Your stored return address appears automatically in the Return address field
- Type the recipient's delivery address in the Delivery address field
- Click Options, then select Size 10 for a standard #10 business envelope (4-1/8 x 9-1/2 inches), or the matching size for your envelope
- Click the Printing Options tab to confirm how your printer feeds envelopes (face up or face down, and orientation)
- Load one envelope into your printer's manual feed slot according to the orientation shown
- Click Print , Word sends the envelope to your default printer
- Check the test print before running the full batch
Method 2: Return Address Labels
A return address label sheet is a standard Avery or compatible label sheet formatted with your return address printed repeatedly across the sheet. Print the sheet on a standard inkjet or laser printer, then apply one label to the upper-left corner of each envelope by hand.
This method works well when you use multiple envelope types and sizes, since the same label fits any envelope format without needing a new print template. It also works when your printer is unreliable with thick envelope stock.
How to create return address labels in Word
- Open Word and click the Mailings tab
- Click Labels in the Create group
- In the Address box, type your return address
- Check Full page of the same label under Print
- Click Options, select your label brand and product number (typically a small return address label size)
- Click New Document to generate the label sheet
- Print on your label sheet using standard paper settings
- Apply one label to the upper-left corner of each envelope
Method 3: Direct Inkjet or Laser Printing
Direct printing feeds blank envelopes through a laser or inkjet printer and prints both the return address and the delivery address in a single pass. This is faster per envelope than the label method but requires a printer that handles envelope stock reliably and a template correctly sized for your envelope format.
The main challenge is printer compatibility. Laser printers run the envelope through a fuser that applies heat, which can activate peel-and-seal adhesive prematurely if the envelope is already sealed. For direct printing, use unsealed envelopes and seal them after printing. For the complete guide to printer compatibility by envelope type and closure, see Laser Printer Envelopes: Which Types, Weights, and Closures Are Safe to Print On.
Key settings for direct envelope printing
- Paper source: Manual feed tray or multipurpose tray , not the main paper cassette
- Paper size in printer settings: Must match the physical envelope size (#10 = 4.125 x 9.5 inches)
- Orientation: Check your printer's envelope loading diagram , most require face down, flap left, for a #10 envelope
- Font size: Minimum 10-point for return address; 12-point preferred
- Always test print on plain paper first: Lay the test sheet over the envelope to confirm position before feeding the actual stock
For the complete guide to direct envelope printing including inkjet, laser, and bulk settings, see How to Print on Envelopes: The Complete Guide for Laser, Inkjet, and Bulk Office Printing.
Method 4: Custom Pre-Printed Envelopes (The Permanent Solution)
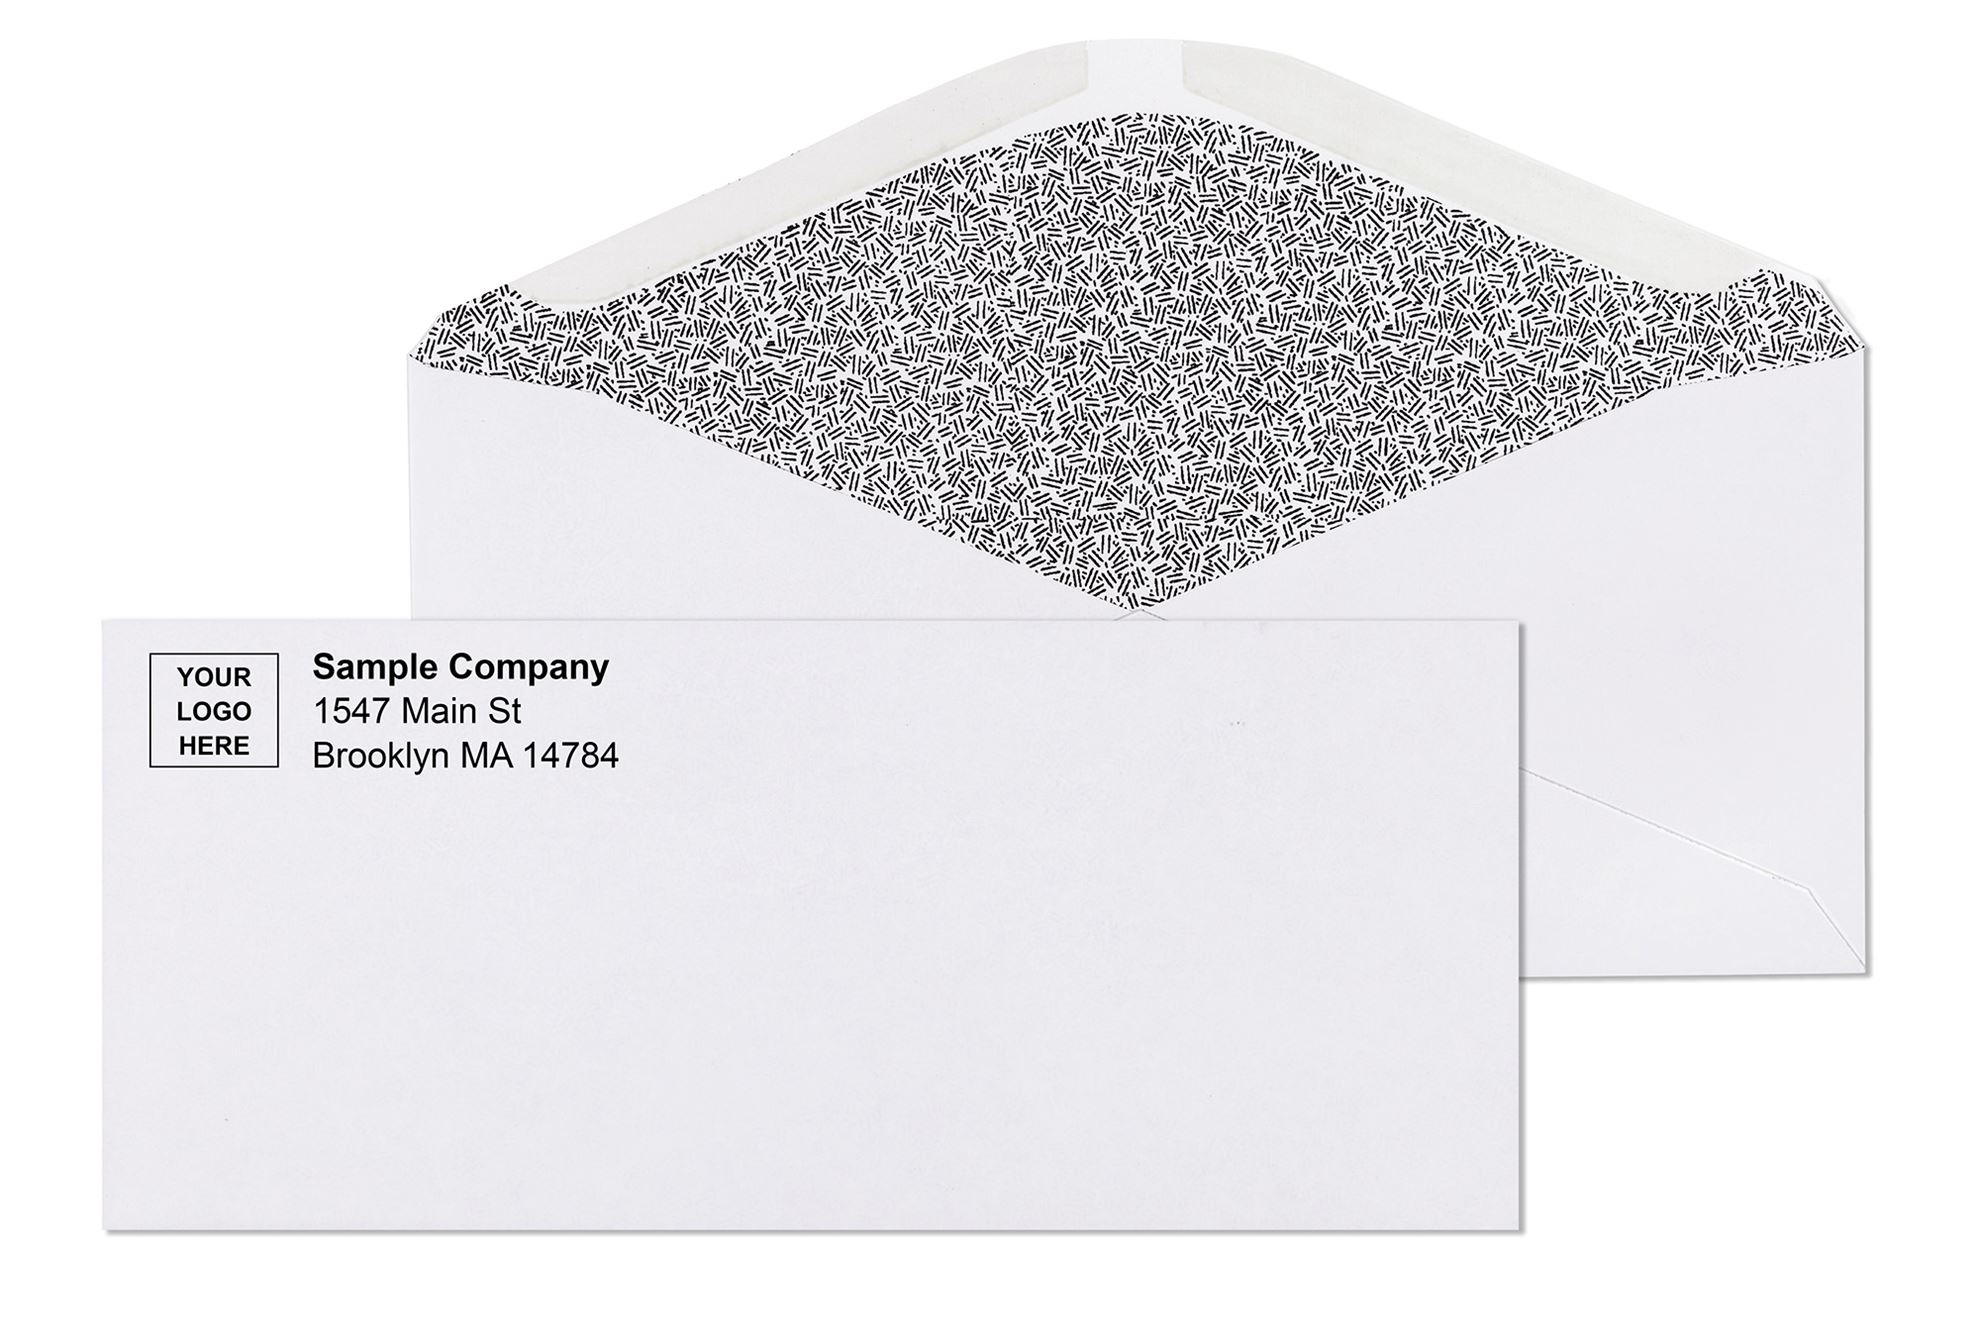
Custom pre-printed envelopes arrive from the supplier with the return address (and optionally the organization logo) already printed on the envelope face. No per-piece printing step. No label application. No printer jams. Every envelope in the batch looks identical, with a professionally printed return address that is sharper and more consistent than most office printer output.
For any organization sending more than 50 envelopes per month on a regular basis, custom pre-printed envelopes almost always cost less per envelope when the time and equipment cost of in-house printing is factored in. The per-unit premium over blank stock covers a result that in-house printing cannot reliably match at scale.
What gets printed on custom envelope return address
- Organization name or personal name
- Street address, city, state, and zip code
- Optionally: logo, tagline, website, or phone number
- Print zone: upper-left corner area, within the USPS return address zone
- Available in 1-color, 2-color, and full-color printing
How the custom printing process works at Business Envelopes
- Submit artwork file (vector PDF or EPS preferred, minimum 300 DPI for raster art)
- Receive a PDF proof before production begins
- Approve the proof or request revisions at no charge
- Production completes within 7 to 10 business days from proof approval
- Artwork stored on file for automatic reorders , no re-upload needed
- No minimum order on any format
See all custom printing options and available formats at Custom Printed Envelopes: What Gets Printed, How It Works and Why It Matters and browse the full printed envelope catalog at printed envelopes.
Method 5: Window Envelope with Pre-Printed Return Address
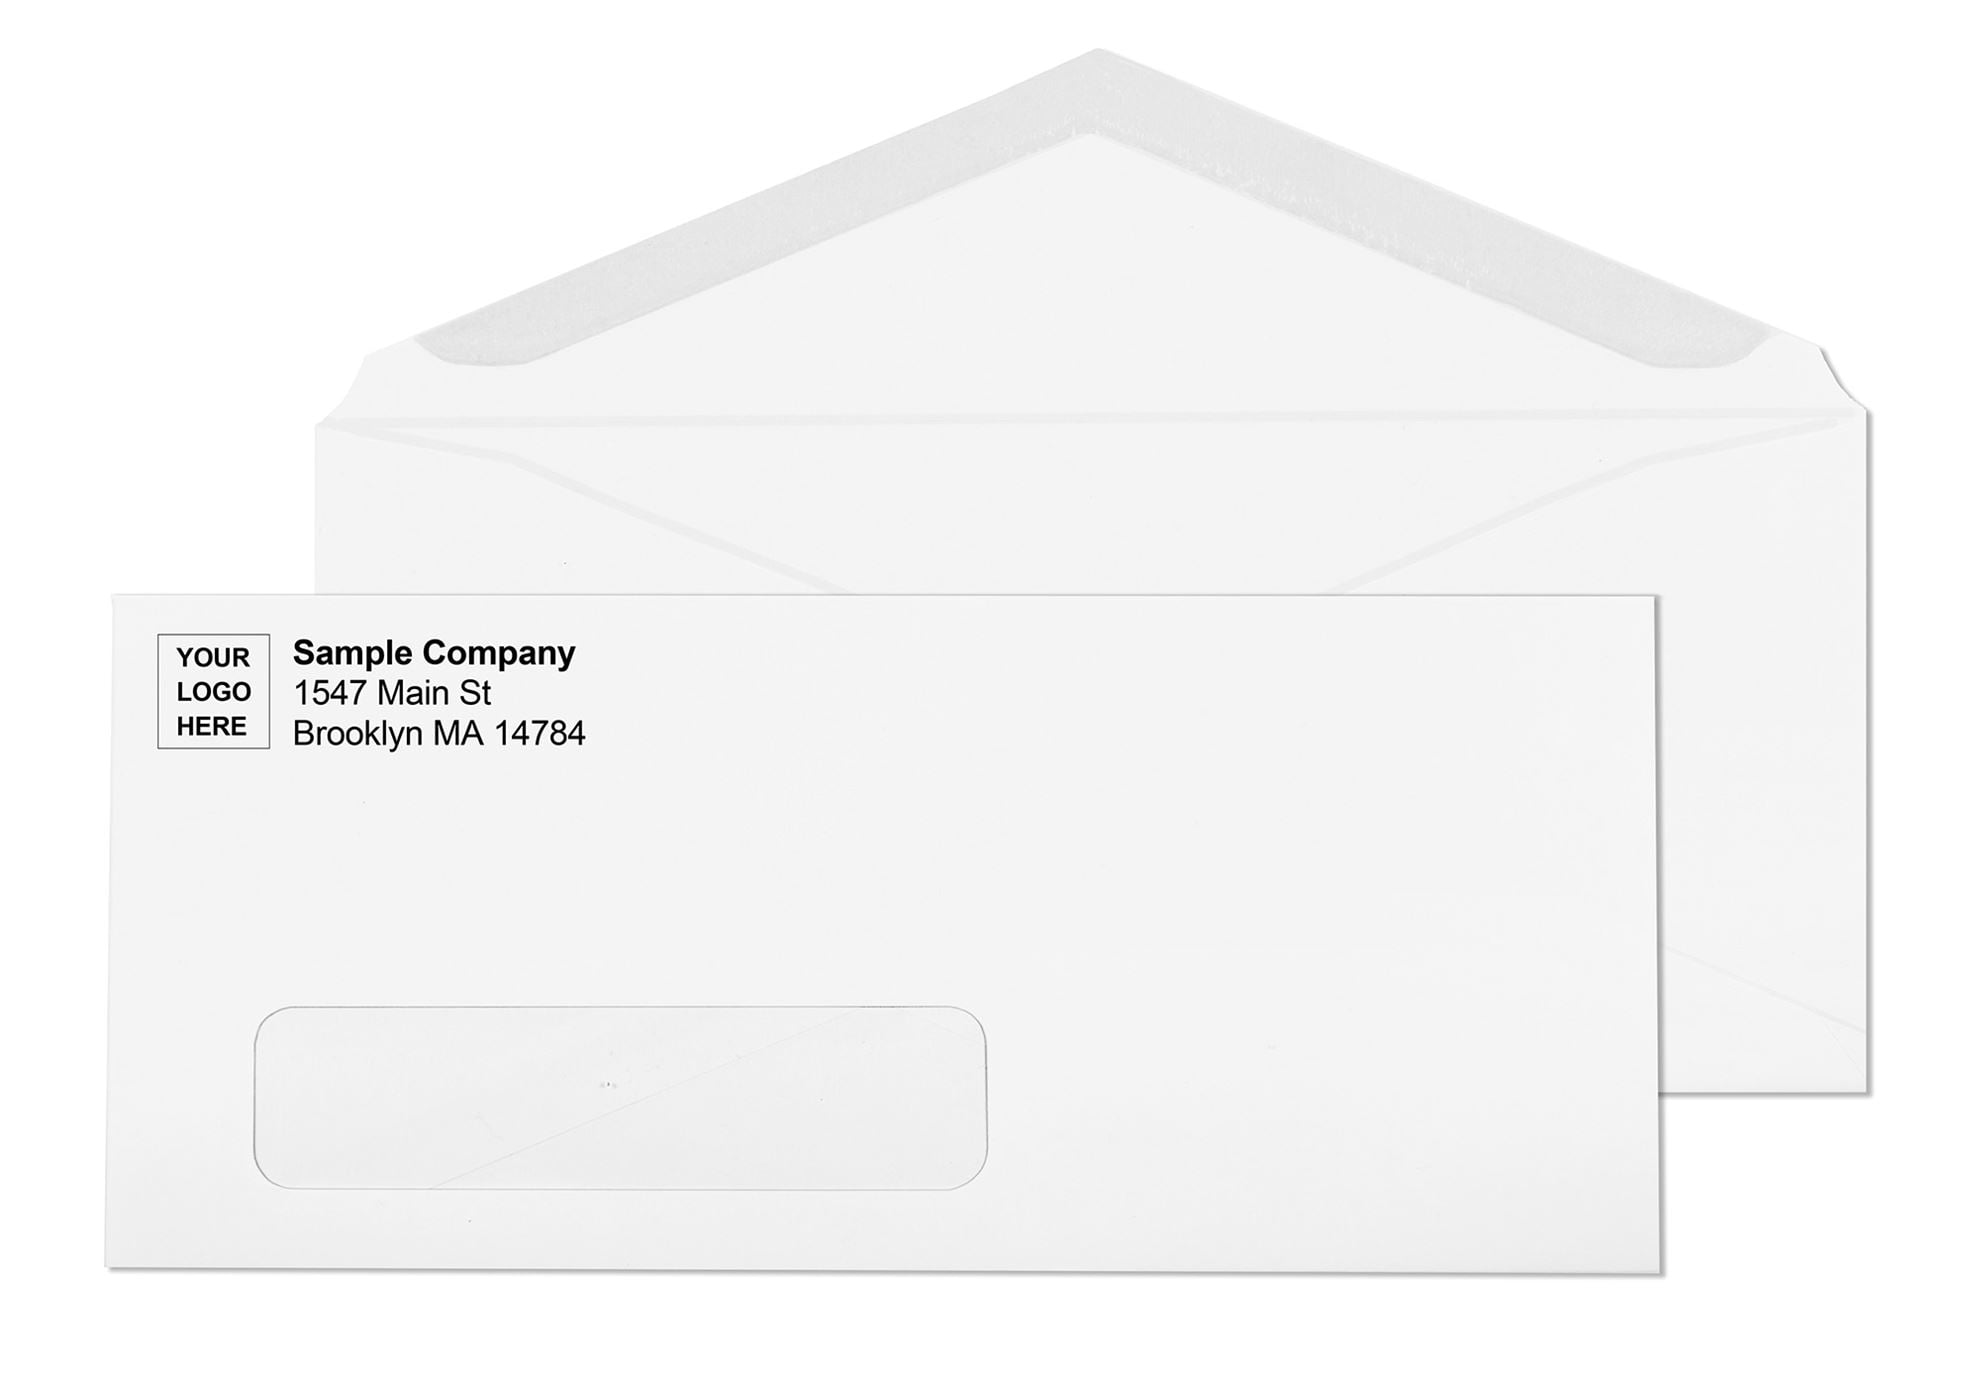
For billing statements, invoices, and recurring correspondence programs, a window envelope with a pre-printed return address eliminates two addressing steps at once. The delivery address shows through the transparent window from the document inside, so no delivery address printing is needed on the envelope. The return address is pre-printed on the face by the supplier, so no return address printing is needed either. Every envelope in the batch is ready to stuff and seal.
This is the format used by billing operations, insurance companies, financial institutions, and healthcare providers for high-volume recurring mail. The #10 window with pre-printed return address and logo in the upper-left corner is the most operationally efficient business envelope format for any program where the same sender mails to a changing list of recipients.
See all window envelope formats at window envelopes and the complete guide at Business Envelopes With Return Address: The Complete Guide.
Which Method Is Right for Your Mailing Volume?
| Monthly Volume | Recommended Method | Why |
|---|---|---|
| 1 to 10 envelopes | Microsoft Word or labels | Low frequency; any method works; Word is free |
| 10 to 50 envelopes | Direct printing or labels | Volume justifies a template setup; labels work across envelope sizes |
| 50 to 500 envelopes | Custom pre-printed envelopes | Per-unit savings plus zero per-piece printing time; consistent result |
| 500+ envelopes | Custom pre-printed envelopes | In-house printing cannot match quality or consistency at this volume |
| Billing / invoice programs | Window envelope with pre-printed return address | Eliminates both delivery and return address printing steps |
Common Mistakes When Printing Return Address on Envelopes
- Wrong position. The return address must go in the upper-left corner of the front face. It does not go on the back flap or centered at the top.
- Font too small. Anything below 10-point is difficult to read at USPS processing speeds. Use 12-point for the most legible result.
- Printing on sealed envelopes. Laser printer fuser heat can activate peel-and-seal adhesive through the liner, sealing the envelope before it is loaded. Always print on unsealed envelopes and seal after printing.
- Wrong envelope orientation in printer. Loading the envelope in the wrong direction prints the return address on the bottom right or back of the envelope. Always confirm orientation with a test print on plain paper first.
- Using a decorative script font. Script fonts look attractive but are harder to scan at USPS facilities if the piece is flagged for manual handling. Use a clean, legible typeface for the address block.
- Printing over the barcode clear zone. The bottom 5/8-inch strip of the envelope face must remain clear. No return address, design, or printed element should fall in this zone.
Why Business Envelopes for Custom Printed Return Address Envelopes
Business Envelopes has supplied custom printed envelopes , with logo and return address , to businesses, nonprofits, law firms, medical offices, and financial institutions since 1997. Custom printing is available on every standard envelope format in the catalog.
- Custom printing on #10, #9, #11, 6x9, 9x12, and other standard formats
- 1-color, 2-color, and full-color printing options
- Logo plus return address in the upper-left corner on every format
- PDF proof before production , revisions at no charge
- No minimum order on any custom printed format
- 7 to 10 business day production from proof approval
- Same or next business day shipping on blank stock
- Free ground shipping on every order
- Artwork stored on file for automatic reorders
Browse all formats at printed envelopes. For logo plus return address options, see Business Envelopes with Logo and Return Address: Make Every Outgoing Piece Work Harder.
What Customers Say About Business Envelopes Custom Printing
★★★★★ Jacob, Verified Buyer | #10 White Wove Printed Envelopes
"The best company to deal with!! Their printing is SUPER as well as the quality of the envelopes. It was a pleasure to deal with them. I would recommend everyone to give them a try."
★★★★★ Yehudis, Verified Buyer | #10 White Wove Printed Envelopes
"Next time I need printed envelopes I know where to order. Businessenvelopes does a great job. My envelopes never came out so nice when I ordered them somewhere else. I highly recommend businessenvelopes."
★★★★★ Jacob, Verified Buyer | #10 White Wove Printed Envelopes
"I am very pleased with these envelopes and will order again! Great product and shipped very well! Better than I get from local office supply and a better value!"